
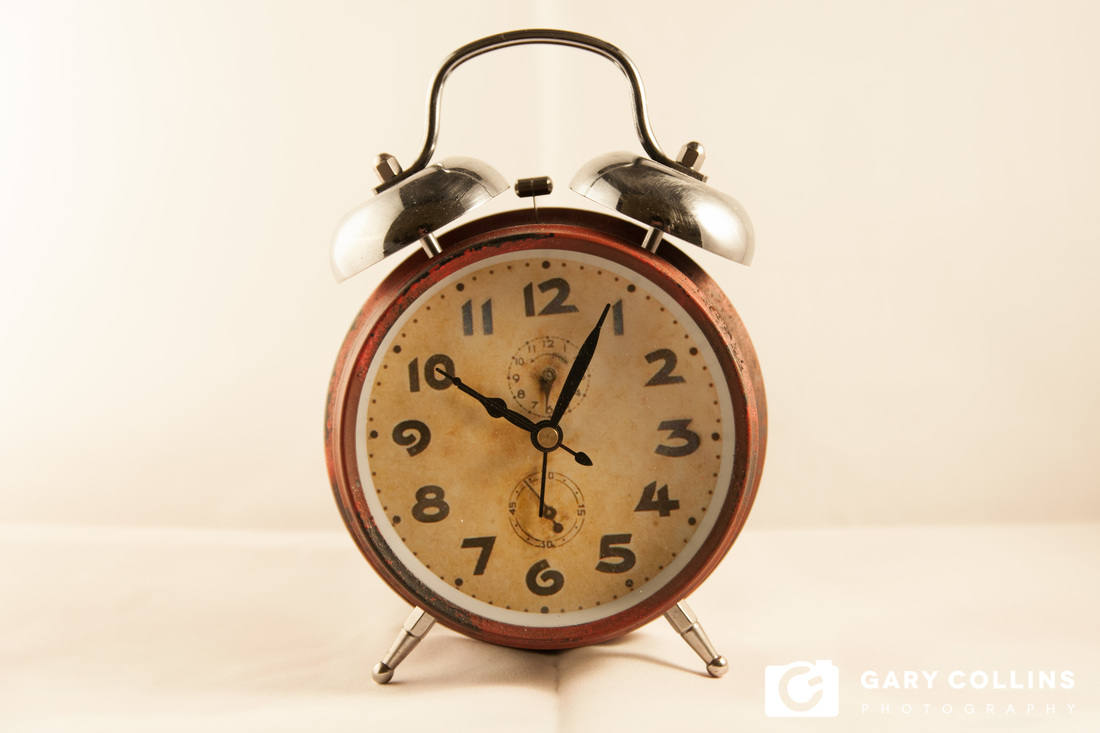
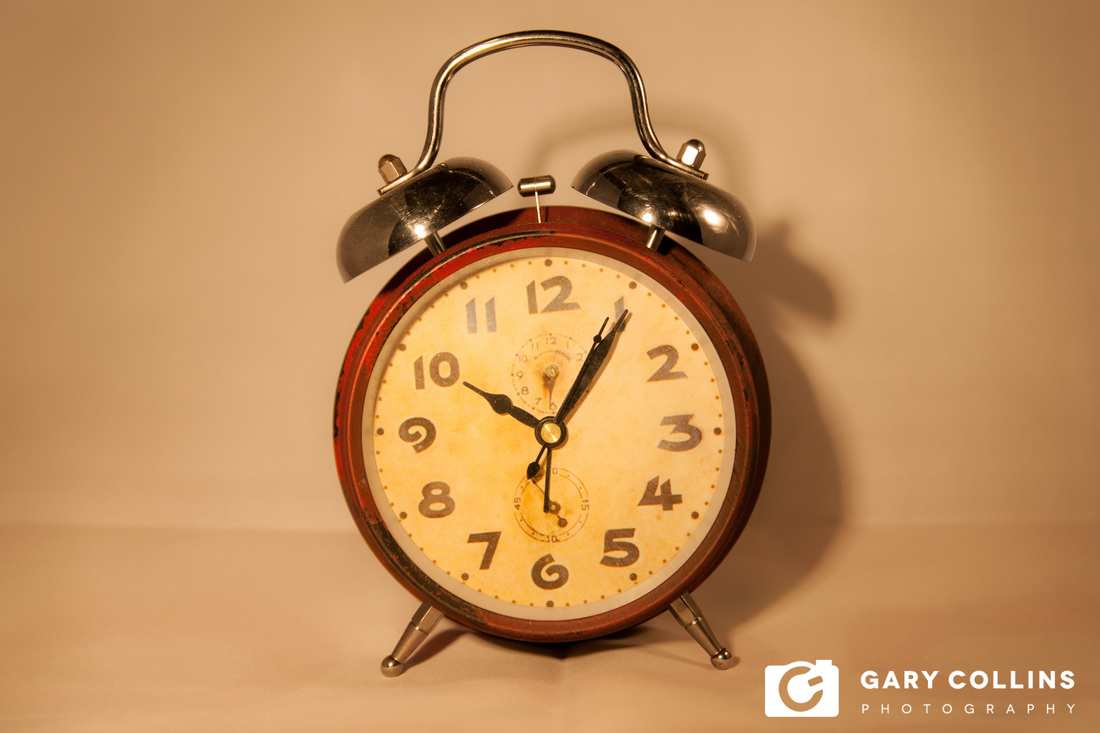
1.I'm not a photographer - Why should I take photographs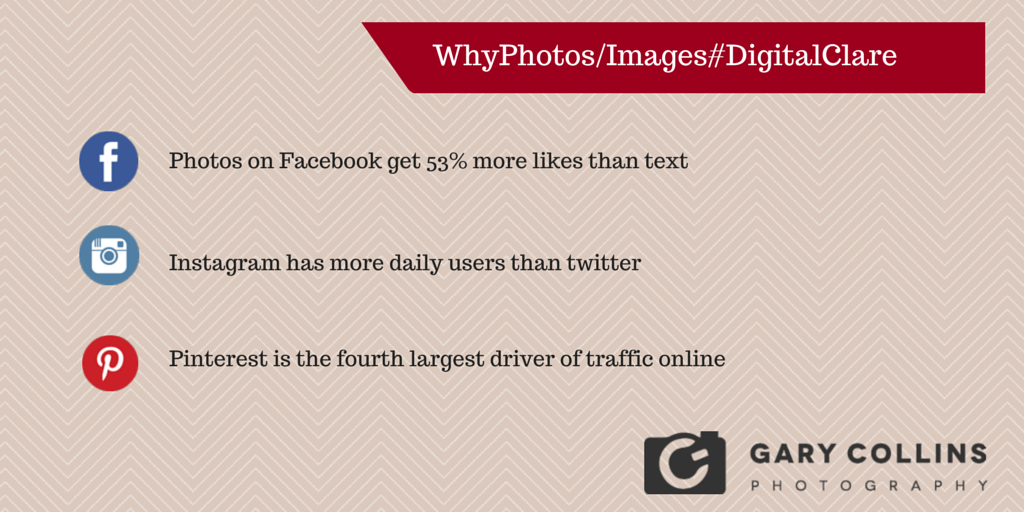 I'm not a photographer you say? Why should I take photographs? As can be seen from the below graphic, photo's are a real traffic driver. 2. Everything is contentYou may be sitting in the local coffee shop, setting up the Easter decorations or chilling on the Cliffs of Moher. Why not post a photo? "Just had a lovely coffee in Suas, brainstroming my next photo project!" "Happy Easter :) from Gary Collins Photography" "Working on some timelapse photography at the Cliffs of Moher, make sure to stay tuned for results" "All set up for our first #weddingfair, make sure to pop by and say hello" While these are all random shots, they still relate back to my business as a photographer.  All these images were taking while out and about and gained lots of interaction on our photo page. Every image should also have an objective. To show off something new, to let people know what you are working on or just to get people to interact and say Hi back. 3. User Generated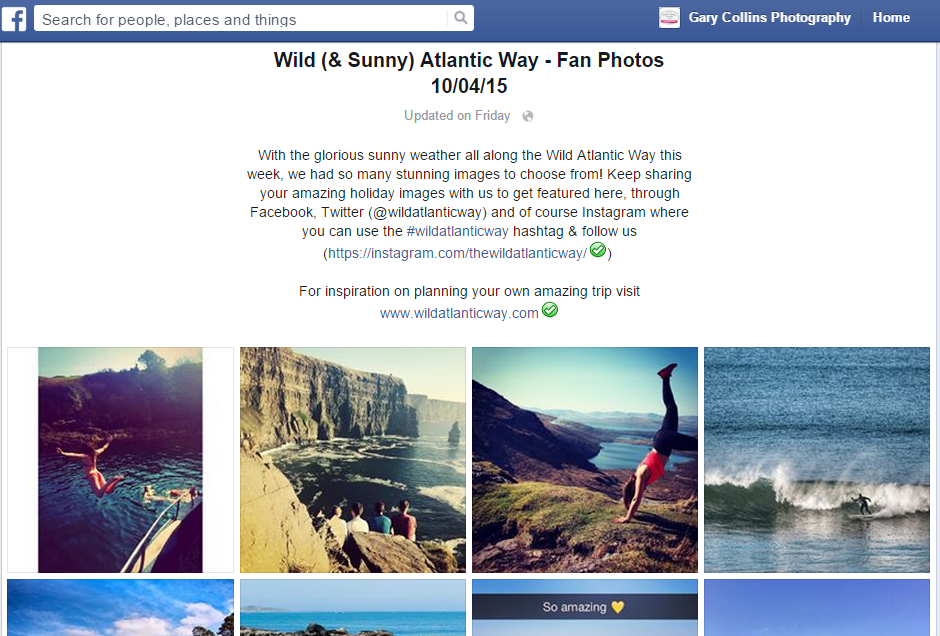 Ask users of your product/service to send you images of them in action. This can then be shared on your social media platforms. A great example of this is the Wild Atlantic Way Facebook page. We can even see our own West Coast Cycle Tours appear on their page (also good advertising for them). 4. BackgroundDefine a style guide/strategy for your online content. This will allow for more consistant imagery which ties in with your brand. If your style is clean and fresh a white background may suffice, while a red background gives great vibrancy and colour.
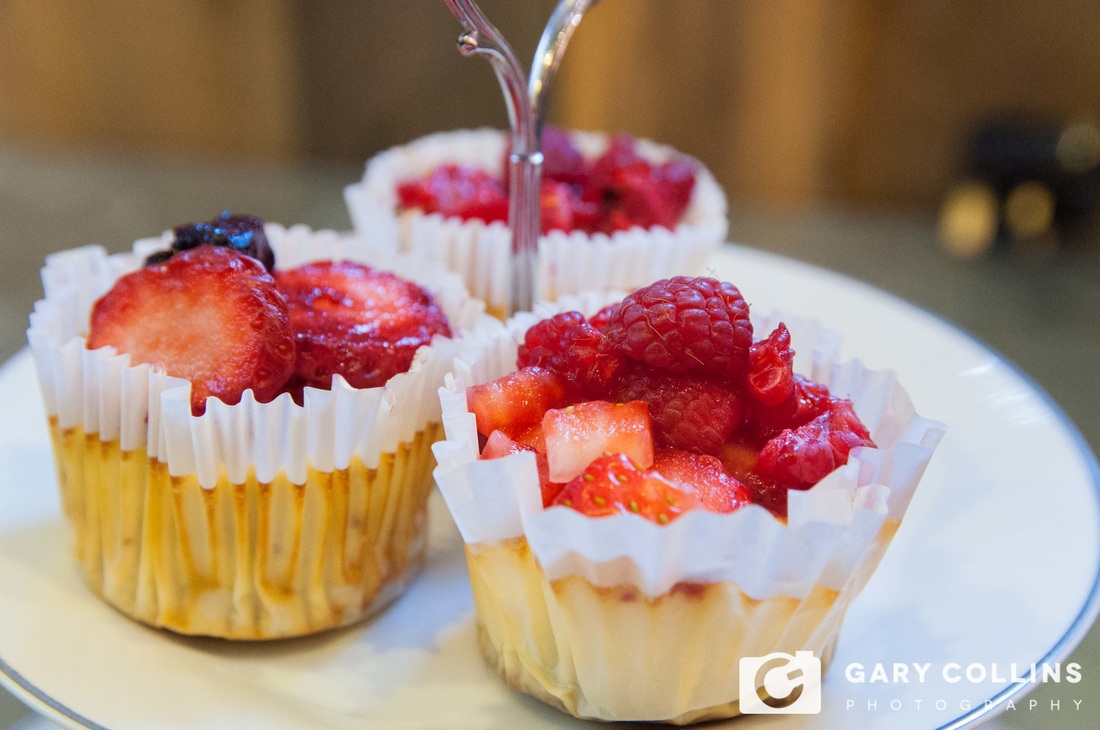
5. Lighting & FocusLighting & Focus are some of the most important elements of the product/service photograph. An image must be crisp and clear. An out of focus and badly lit shot will not sell, while a sharp and correctly lit image will sell the product instantly.
6. Rule of ThirdsThe basic principle behind the rule of thirds is to imagine breaking an image down into thirds (both horizontally and vertically) so that you have 9 parts. As follows. 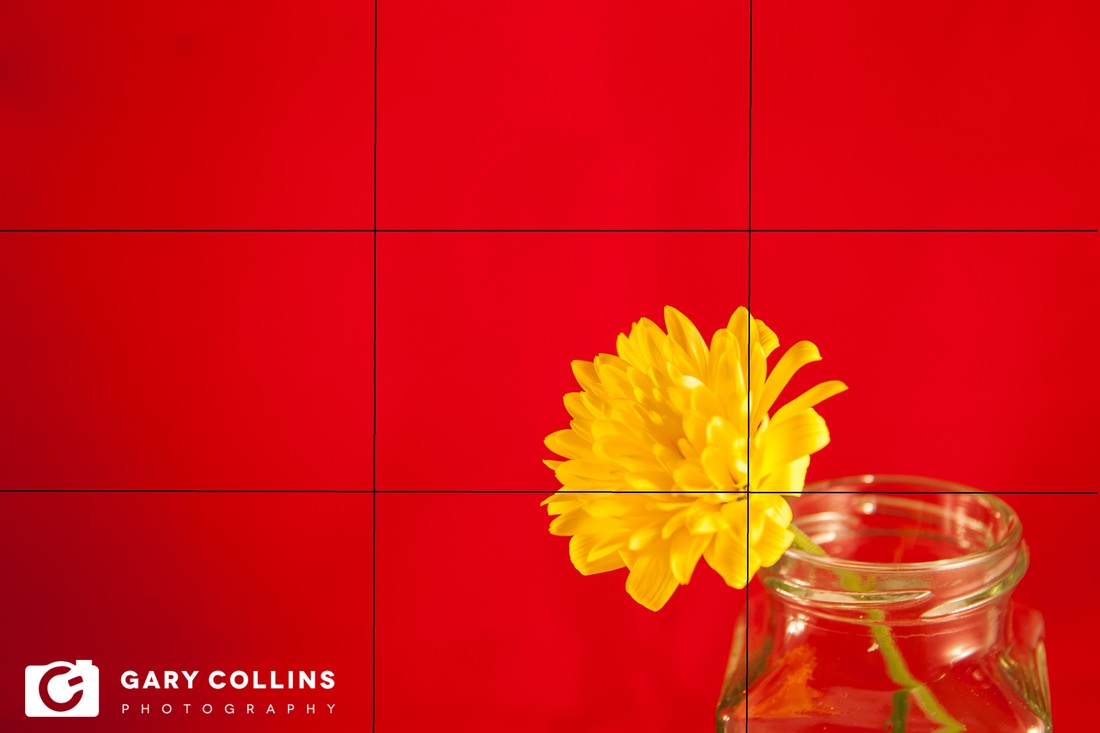 With this grid in mind the ‘rule of thirds’ now identifies four important parts of the image that you should consider placing points of interest in as you frame your image. Not only this – but it also gives you four ‘lines’ that are also useful positions for elements in your photo. These can include your logo, a graphic or a message. 7. Change your anglesTaking a foot left or right, 6 inches closer, standing on your toes can change an image and give a more interesting angle.
8. Image SizesAll social media platforms differ when it comes to the size and look of an image that is uploaded. To get the best results from your images ensure that they are in the correct proportion for the platform. This can be done via some of the useful tools listed below. 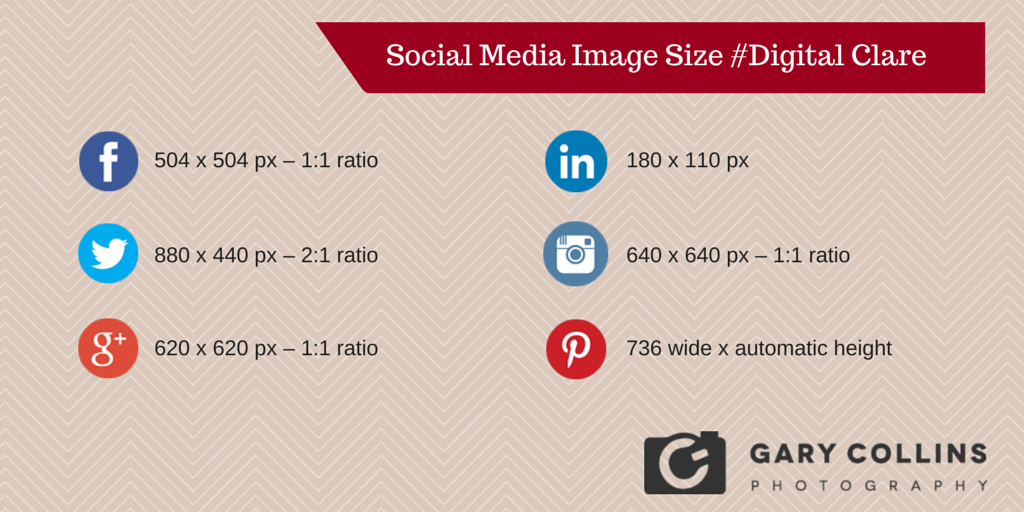 9. Watermark / Personalise you imagesWhen an image appears online they can be shared in the blink of an eye/downloaded and shared with no link back to you. Place a watermark on the image with your logo, web address or other details and when the image is seen it will always lead back to you. I have included iWatermark below in useful links. This is a free app that you can use to add your logo to any image. 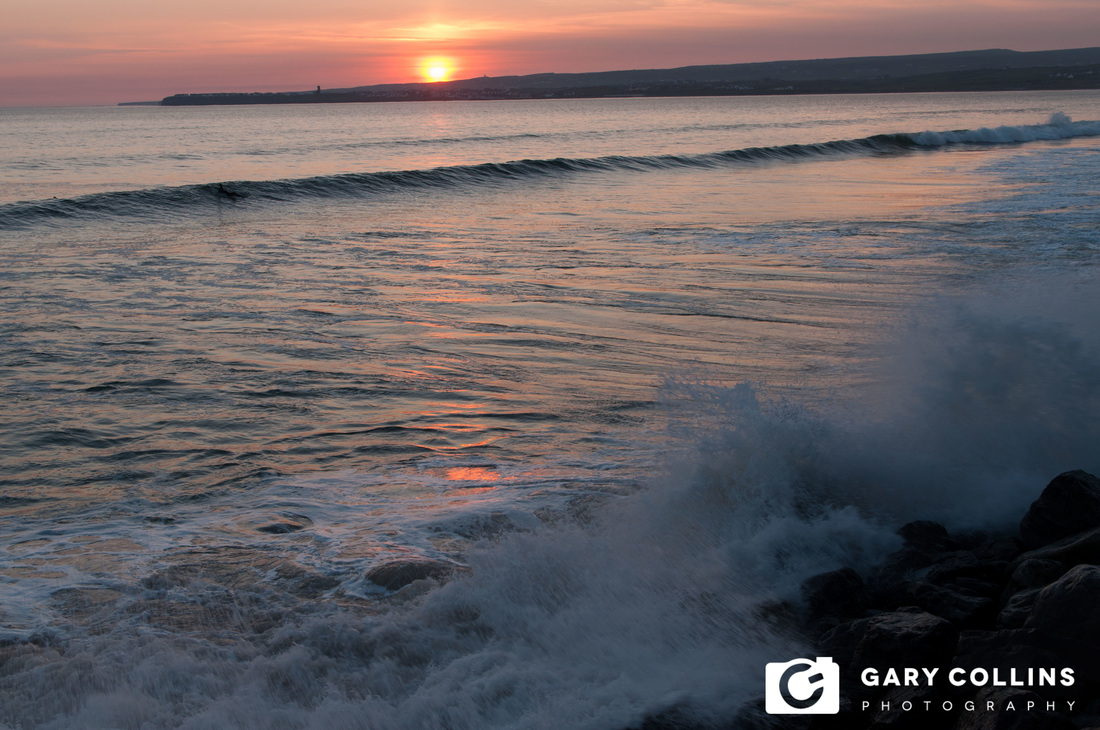 10. Optimize for search enginesSearch engines now rank Name your images in descriptive plain english e.g Engagement_Photography_Clare_001.jpg instead of AoifeandGary00032.jpg Reduce the file size - Any longer than a three second wait and customers begin to move. Look at google suggestions to help in your choice of keywords Bonus - Make images shareableUse social media badges on your sites. This allows for users to share direct links back to you on all social media platforms. Accounts can be linked Useful ToolsiWatermark - This can be used for watermarking and personalising your images. Can be used on your phone and allows for updating of social media while out and about. Canva - Templates available for various social media platforms. These are already size obtimised. GIMP - A free tool for image manipulation, retouching, resizing, watermarking. Very user friendly and many tutorials available online. PicMonkey - Free software for image manipulation and creation Pixlr - online photo editor, very user friendly and free of charge Photoshop - While everyone is familiar with the term "photoshop" it can be quiet daunting. I have linked to the free iphone version which has alot of the full version capabilities. GIMP is the free alternative to the full photoshop package.
0 Comments
Leave a Reply. |


|
Gary Collins Photography | Ennis, Co. Clare, Ireland
[email protected] | +353(0)87 9917813 |
© COPYRIGHT 2024. ALL RIGHTS RESERVED.
|